You may use the the ecinteractive tool to open interactive sessions with dedicated resources on the HPCF and ECS.
...
- Only one interactive job is allowed at a time
- Your job keeps on running after you exit the interactive shell, so you can reattach to it any time or open multiple interactive shells within the same job.
- You may open a basic graphical desktop for X11 applications.
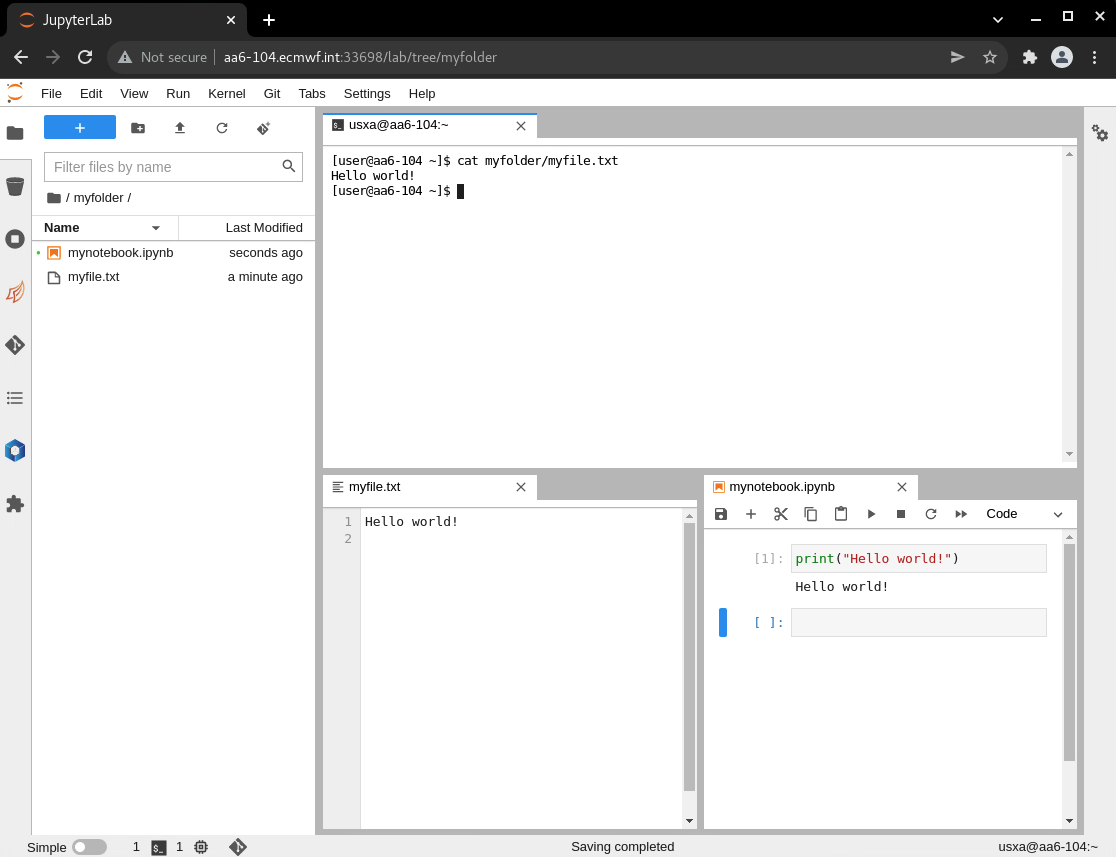
- You may open a Jupyter Lab instance and connect to it through your browser, although use of JupyterHub is recommended instead.
- If running on the HPCF platform, your interactive job may be scheduled to any of the four complexes. You may also choose to run on ECS.
- You can run ecinteractive from any Atos HPCF complex, ECS, and Red Hat Linux VDI. You may also copy the script to your end user device and use it from there. It should work from Linux, Mac, or WSL under windows, and requires the Teleport tsh client to be installed and configured.
...
| No Format |
|---|
[user@aa6-100 ~]$ ecinteractive -k cancelling job 10225018... CLUSTER JOBID STATE EXEC_HOST TIME_LIMIT TIME_LEFT MAX_CPUS MIN_MEMORY TRES_PER_NODE aa 10225018 RUNNING aa6-104 12:00:00 11:55:34 4 16G ssdtmp:3G Cancel job_id=10225018 name=user-ecinteractive partition=inter [y/n]? y Connection to aa-login closed. |
Opening graphical applications within your interactive job
Visual Studio Code integration
If you are a Visual Studio Code (VSCode) user, it is possible to use its Remote SSH extension to connect to your ecinteractive session instead of the login node to enjoy dedicated interactive resources.
Prerequisites
In order for this to work, you will need to have ecinteractive available on the platform where you run VSCode. If you are using your own computer, you need to follow these steps:
- Download the latest ecinteractive tool. Mac, and WSL are supported:
Once you have it, you can always make sure it is up to date running:No Format curl -so ecinteractive https://git.ecmwf.int/projects/USS/repos/ecinteractive/raw/ecinteractive chmod +x ecinteractiveNo Format ./ecinteractive -U - Make sure Teleport is properly configured for you to be able to connect via ssh to our HPCF or ECS.
No installation is required if you are using VSCode and ecinteractive from the Linux VDI, as they are both available.
Setup
You will need to make sure the following snippet is in your ~/.ssh/config on the platform where you run VScode itself:
| Code Block | ||||
|---|---|---|---|---|
| ||||
# ecinteractive dynamic host
Include ecinteractive_ssh_config |
With that in place, every time you run ecinteractive from this platform, a file ~/.ssh/config/ecinteractive_ssh_config will be created or updated, defining a host alias "ecinteractive" pointing to the actual host running your interactive session.
Connecting VSCode to ecinteractive session
Whenever you want to use VSCode on your interactive session, you will need to run the ecinteractive command with the desired options from a separate terminal at least once, so that the "ecinteractive" host alias points to the right host. An example with default options to just update the host alias could be:
| No Format |
|---|
ecinteractive : |
On VScode, a new host called ecinteractive will appear in your remote host list. If you select that one, a vscode remote session will be started using the resources from your ecinteractive session.
| Info | ||
|---|---|---|
| ||
Remember that if your ecinteractive session expires or you kill it, you will need to rerun ecinteractive from the same platform where you run VSCode before you can use that connection again |
Opening graphical applications within your interactive job
if you need to run graphical applications, you if you need to run graphical applications, you can do so through the standard x11 forwarding.
...
| Excerpt | |||||||||||||||||||||||||||||||||||||||||||||||||||
|---|---|---|---|---|---|---|---|---|---|---|---|---|---|---|---|---|---|---|---|---|---|---|---|---|---|---|---|---|---|---|---|---|---|---|---|---|---|---|---|---|---|---|---|---|---|---|---|---|---|---|---|
Opening a Jupyter Lab instance
To use your own conda environment as a kernel for Jupyter notebook you will need to have ipykernel installed in the conda environment before starting ecinteractive job. ipykernel can be installed with:
The same is true if you want to make your own Python virtual environment visible in Jupyterlab
To remove your personal kernels from Jupyterlab once you don't need them anymore, you could do so with:
HTTPS accessIf you wish to run Juptyer Lab on HTTPS instead of plain HTTP, you may use the In order to avoid browser security warnings, you may fetch the Customising your jupyter version and environmentBy default, ecinteractive will start the jupyterlab coming from the default version of python 3. If you wish to customise the version of python or jupyterlab, or simply want to tailor its environment in your ecinteractive session, create the following file in your Atos HPCF HOME:
Then add in it the commands needed to set up the environment so that the jupyter and node commands can be found in the path. This would be equivalent to the default behaviour:
Examples of contents for |
| Code Block | ||||
|---|---|---|---|---|
| ||||
module load python3/new node/new |
| Code Block | ||||
|---|---|---|---|---|
| ||||
module load conda conda activate myjupyterenv |
...