This tutorial will explain how to create the "virtual machine" using the "virtual machine player" in order to run the practical exercises.
What is a "virtual machine"? A virtual machine is literally one computer operating system and its applications running on top of another operating system. It is a way of using Linux with MacOSX and Windows for example. But is can also be used to run one version of Linux on another version of Linux. Often called "appliances", virtual machines are useful for providing complete environments for certain applications so that no software needs to be installed on the host computer.
What is a "virtual machine player"? A virtual machine player is an application that is used to run or 'play' the virtual machine. This is typically either 'VirtualBox' or 'VMplayer'. Mac users may be familiar with 'Parallels' which is also a virtual machine (VM) player. The VM player software needs to be installed on the host computer before the virtual machine can be used.
Step-by-step guide
In this tutorial we will assume the use of VirtualBox as the VM player (see: http://www.virtualbox.org/)
- First make sure you have downloaded and installed VirtualBox and it starts correctly.

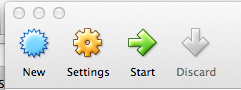
- Start VirtualBox and click the 'New' button:
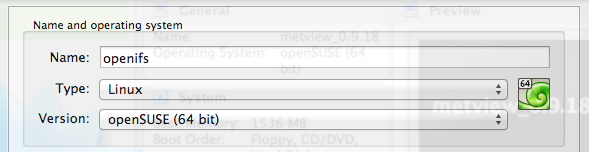
- In the window that appears, for Name type 'openifs' (any name is fine), for Type select 'Linux', for Version select 'openSUSE (64bit)'.
- For Memory size, increase it to at least 1200Mb more if you can. Do not move the bar into the red! This will cause your computer to slow down drastically and it may even freeze.
The amount of memory on your computer may be less or more than shown in the figure below.
- For Hard drive, select the option 'Use an existing virtual hard drive file'. Then click on the yellow folder icon to locate the virtual machine file. This file will have a name similar to the one shown below and always have the .vmdk extension.
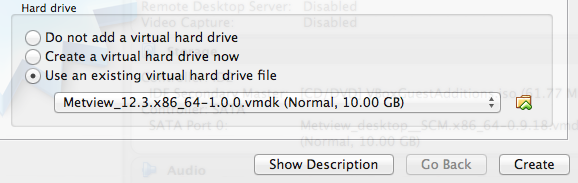
- Then click on the Create button. The newly created virtual machine should now be shown in the left panel.

- Next, click on the Settings icon to change a few of the properties.
Related articles