NGINX Proxy Manager is used to mange reverse proxy servers, streams and redirection hosts.
Other Nginx Proxy Manager features include:
- Virtual host management
- Ability to cache assets
- Blocking of common exploits
- Websocket support
- Access list configuration
- SSL and HTTP/2 support
- Host redirection with HTTP code configuration
- TCP and UDP stream support
- User management
- Nginx Proxy
- Manager log auditing
Nginx is an extremely powerful web server and reverse proxy. The Nginx Proxy Manager is full-featured tool that helps to lower the barriers to entry for users who are interested in learning and working with the Nginx server.
How to provision NGINX Proxy Manager
If provisioning after October of 2025, we recommend deploying based on the community hub, to benefit form upcoming features or fixes.
Pre-requisites
Security Group
You may create security groups either via Morpheus UI settings OR via Community Hub Item deployment.
Create a designated security group with a descriptive name (e.g. "nginx-proxy-manager" ) and add to it the following rules:
| Name | Direction | Rule Type | Protocol | Port Range | Source Type | Source | Destination Type | Destination Port Range |
|---|---|---|---|---|---|---|---|---|
| HTTPS | ingress | Custom Rule | TCP | 443 | Network | <private subnet IP range> | Instance | |
| HTTP | ingress | Custom Rule | TCP | 80 | Network | <private subnet IP range> | Instance | |
| SSH | ingress | Custom Rule | TCP | 22 | Network | <private subnet IP range> | Instance | |
| NPM - Admin frontend | ingress | Custom Rule | TCP | 8200 | Network | <private subnet IP range> | Instance |
Make sure to replace the <private subnet IP range> placeholder accordingly. For example:
- If the VM will connect to the private subnet which comes out-of-the-box on EUMETSAT tenancies, you can replace with 10.0.0.0/24
- If connecting to the out-of-the-box subnet on EWCWF tenancies, replace with 192.168.1.0/24
Deployment based on the EWC Community Hub
Checkout the corresponding Community Hub Item.
Deployment via Morpheus UI (deprecated)
This method of deployment is deprecated, and kept in documentation only as reference for EUMETSAT tenancies that relied on it prior to October of 2025.
1. Go to Provisioning → click Add Button

2. Select NGINX Proxy Manager
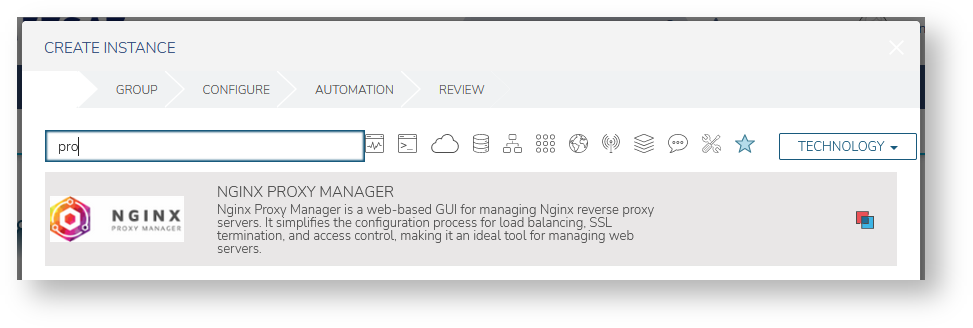
3. Fill information for the machine and finalize provisioning
- network: private
- security-groups: nginx-proxy-manager
- plan: eo1.large
- storage: extra 100 GB
- floating IP: select one or pick external to have one assigned
Next steps
- How to configure the NGINX Proxy manager initial setup
- How to add a new proxy host for specific domain
- How to add a new SSL Certificate for domain/s
- How to create/modify an access list