| Table of Contents |
|---|
| Notewarning |
|---|
| This is not a centrally managed service, and users have to maintain and update the services themselves. You are welcome to ask an optional offering. Once deployed, users are responsible for its maintenance and updates. Feel free to ask for feedback in the #peer-support channel on EWC rocketchat for feedbacksRocketChat. |
NGINX Proxy Manager is used to mange reverse proxy servers, streams and redirection hosts.
...
Nginx is an extremely powerful web server and reverse proxy. The Nginx Proxy Manager is full-featured tool that helps to lower the barriers to entry for users who are interested in learning and working with the Nginx server.
How to provision NGINX Proxy Manager
| Warning |
|---|
Tenants onoboarded to the EUMETSAT site prior to October 2025 support EWC-managed Deployment, as described below. For tenancies onboarded afterwards, you may deploy via the corresponding Community Hub Item on any of the available sites. |
Pre-requisite
Create security group
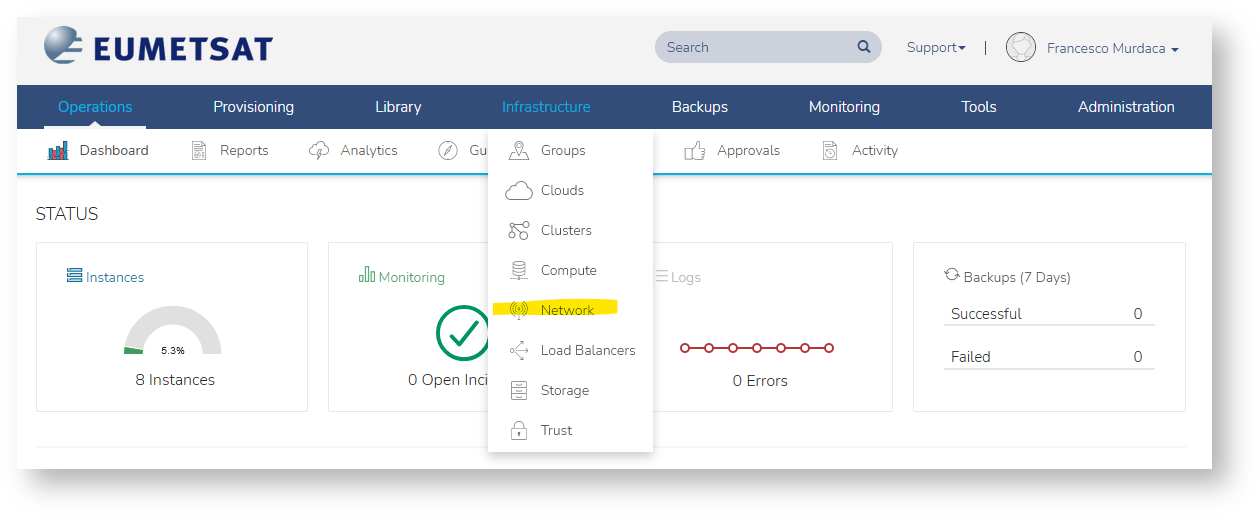
- Go to Infrastructure → Network
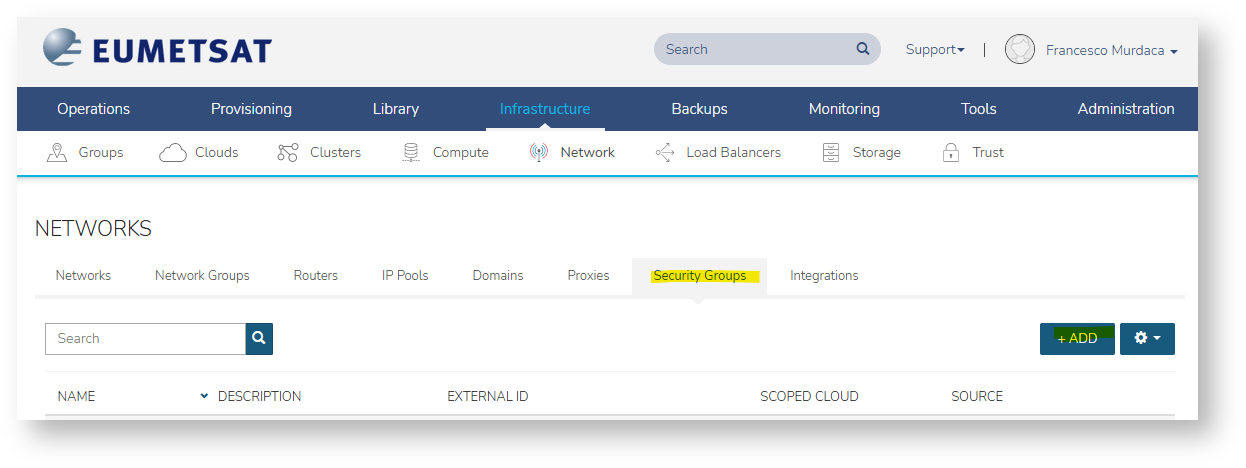
2. Go to Security Group tab and click the add button:
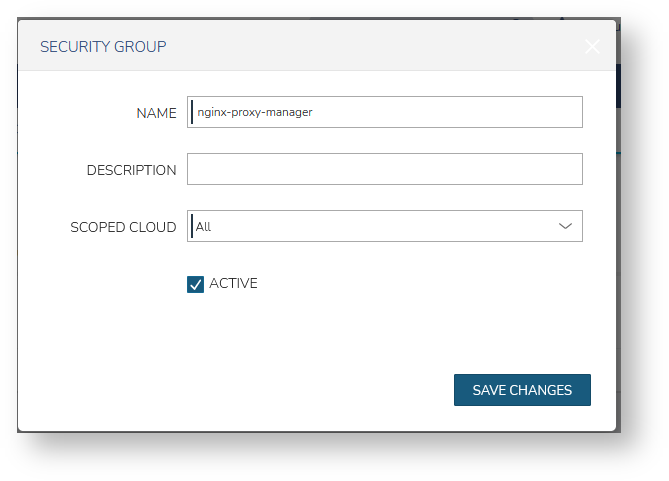
3. Assign nginx-proxy-manager name to the security group and hit save:
| Warning |
|---|
In the scoped cloud select your tenancy from the list. If you leave All, the security group cannot be assigned to VMs. |
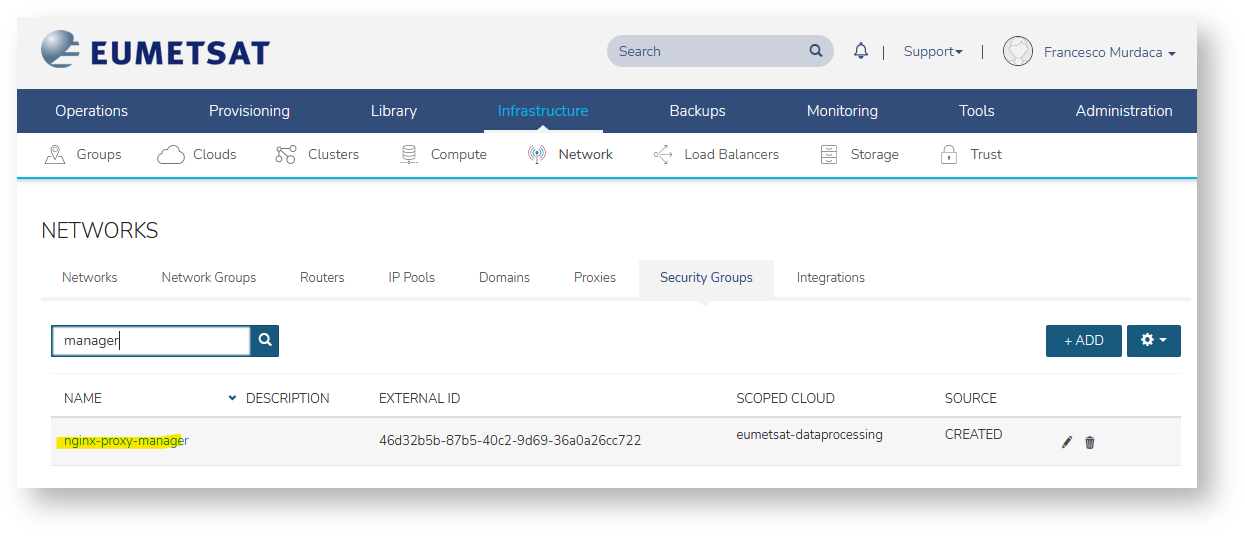
4. Click on the new security group to access it
5. Click on the 'Add rule' button to create a new rule
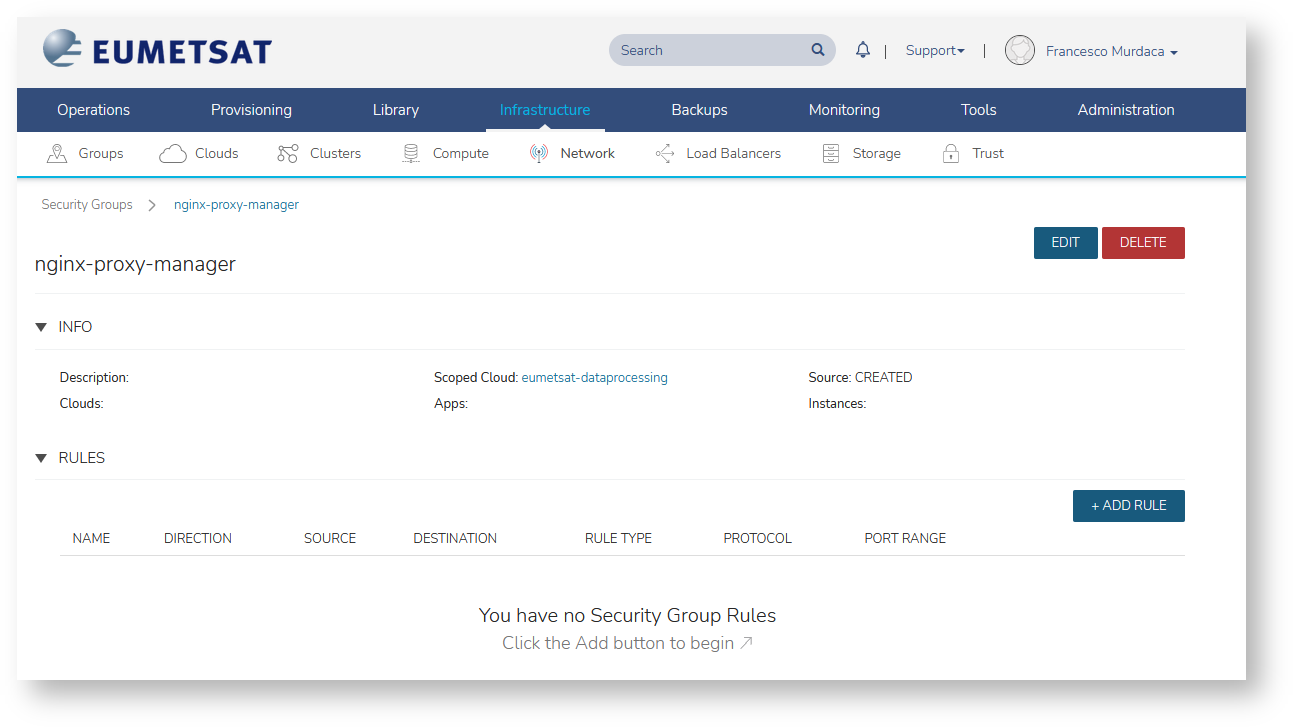
6. Add nginx-proxy-manager security group rules
| Rule name | Direction | Rule Type | Protocol | Port Range | Source Type | Source | Destination Type |
|---|---|---|---|---|---|---|---|
| 443 | ingress | Custom Rule | TCP | 443 | Network | 0.0.0.0/0 | Instance |
| 80 | ingress | Custom Rule | TCP | 80 | Network | 0.0.0.0/0 | Instance |
| 22-ssh-tcp | ingress | Custom Rule | TCP | 22 | Network | 10.0.0.0/24 | Instance |
| 8200-tcp | ingress | Custom Rule | TCP | 8200 | Network | 0.0.0.0/0 | Instance |
Now you are ready to provision the client!
EWC-managed Deployment (EUMETSAT Tenants onboard prior to October 2025)
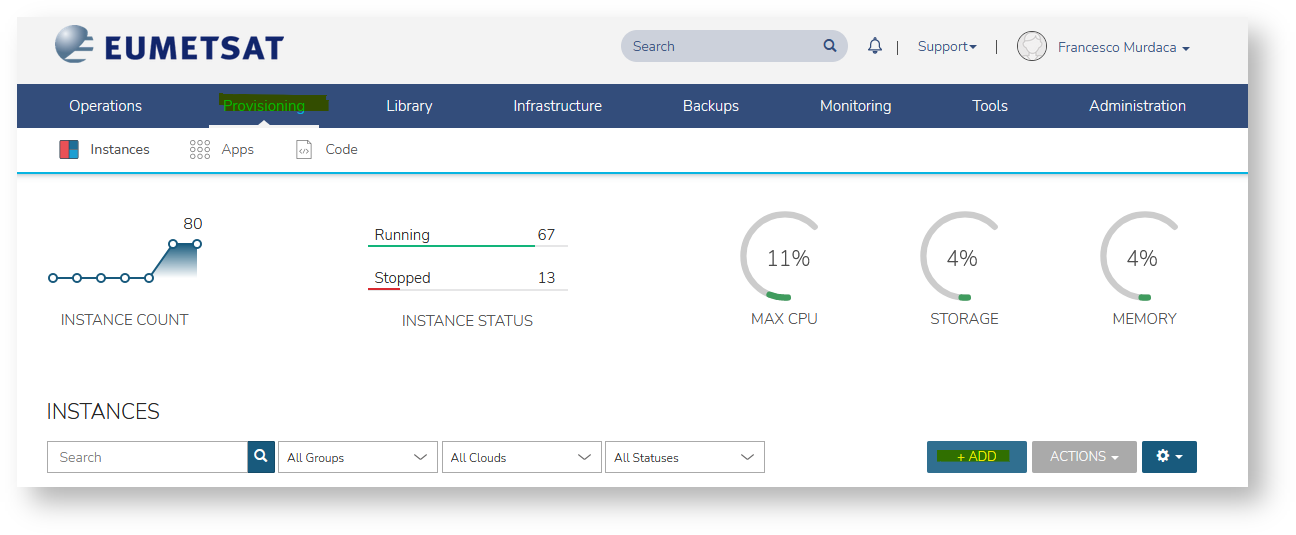
- Go to Provisioning → click Add Button
2. Select NGINX Proxy Manager
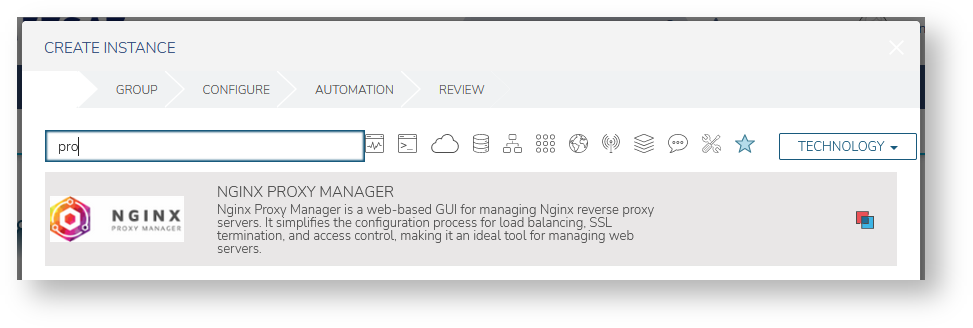
3. Fill information for the machine and finalize provisioning
- network: private
- security-groups: nginx-proxy-manager
- plan: eo1.large
- storage: extra 100 GB
- floating IP: select one or pick external to have one assigned
Self-Service Deployment
Checkout the Community Hub Item (full documentation available on GitHub).
Next steps
...
- How to configure the NGINX Proxy manager initial setup
- How to add a new proxy host for specific domain
- How to add a new SSL Certificate for domain/s
- How to create/modify an access list